The first time you roll up your sleeves to install peel and stick backsplash, everything feels wonderfully straightforward—until you encounter your first electrical outlet or inside corner. Suddenly, that satisfying smooth application becomes a geometry puzzle, and you're standing there with a utility knife wondering if you should have paid more attention in high school shop class. Here's the truth: outlets and corners are where DIY backsplash projects either look polished and professional or sadly homemade. The good news? With the right approach and a little patience, you can navigate these tricky spots like a pro, and the process is far less intimidating than it initially appears.
Understanding Your Work Surface Before You Start
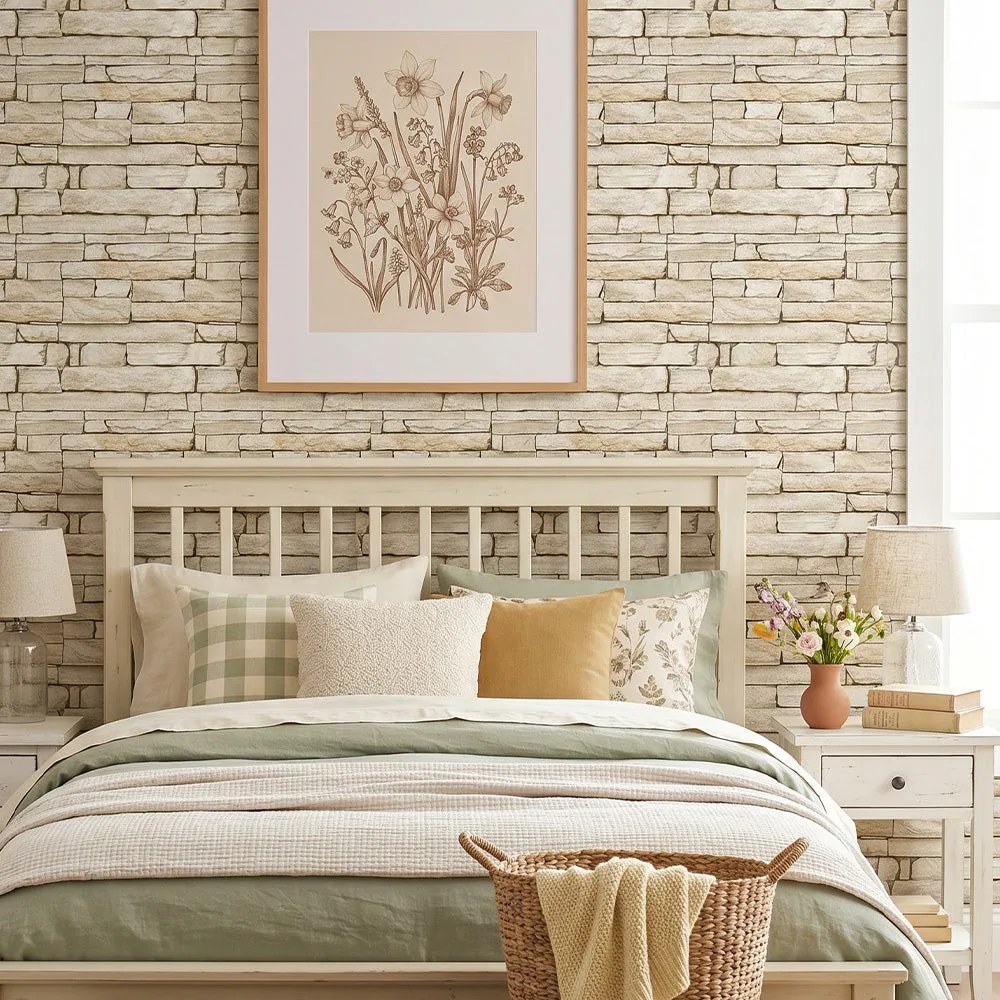
Before you make a single cut, take stock of what you're working with. Not all peel and stick backsplash materials behave the same way around obstacles. Thicker, more dimensional tiles like the 3D Stacked Stone Peel and Stick Wall Tile require different cutting techniques than flat subway-style options. The stone texture means you'll want to score and snap rather than trying to force a blade through multiple layers. Similarly, mosaic patterns demand more precision because a crooked cut will be immediately obvious against all those small tile faces.
Walk through your kitchen or bathroom and identify every outlet, switch plate, and corner you'll encounter. Take photos. Measure twice. Mark your wall lightly with pencil to indicate where your tile pattern will land relative to each obstacle. This reconnaissance mission saves you from unwrapping adhesive backing on a tile only to realize it needs to go back on the roll while you rethink your approach.
The Outlet Cut: Template Method vs. Direct Measure
There are two schools of thought for cutting around outlets, and neither is wrong—they simply suit different working styles. The template method involves creating a paper pattern of your outlet opening, positioning it against your tile, and tracing before cutting. It's forgiving and particularly smart when working with pricier materials where mistakes sting. The direct measure approach has you taking precise measurements from the edges of your last installed tile to the outlet box, transferring those measurements to your new tile, and cutting.
For the direct measure method, you'll need four measurements: distance from the top of the outlet to your reference point (usually the bottom edge of the tile above), distance from the bottom of the outlet to that same reference point, and the left and right boundaries measured from your last installed tile's edge. Mark these on your tile with a pencil, creating a rectangle that represents your outlet opening. Here's the critical part everyone forgets: make your cutout about 1/8 inch larger on all sides than the actual outlet box. This gives you wiggle room and ensures your switch plate will cover any imperfect edges.
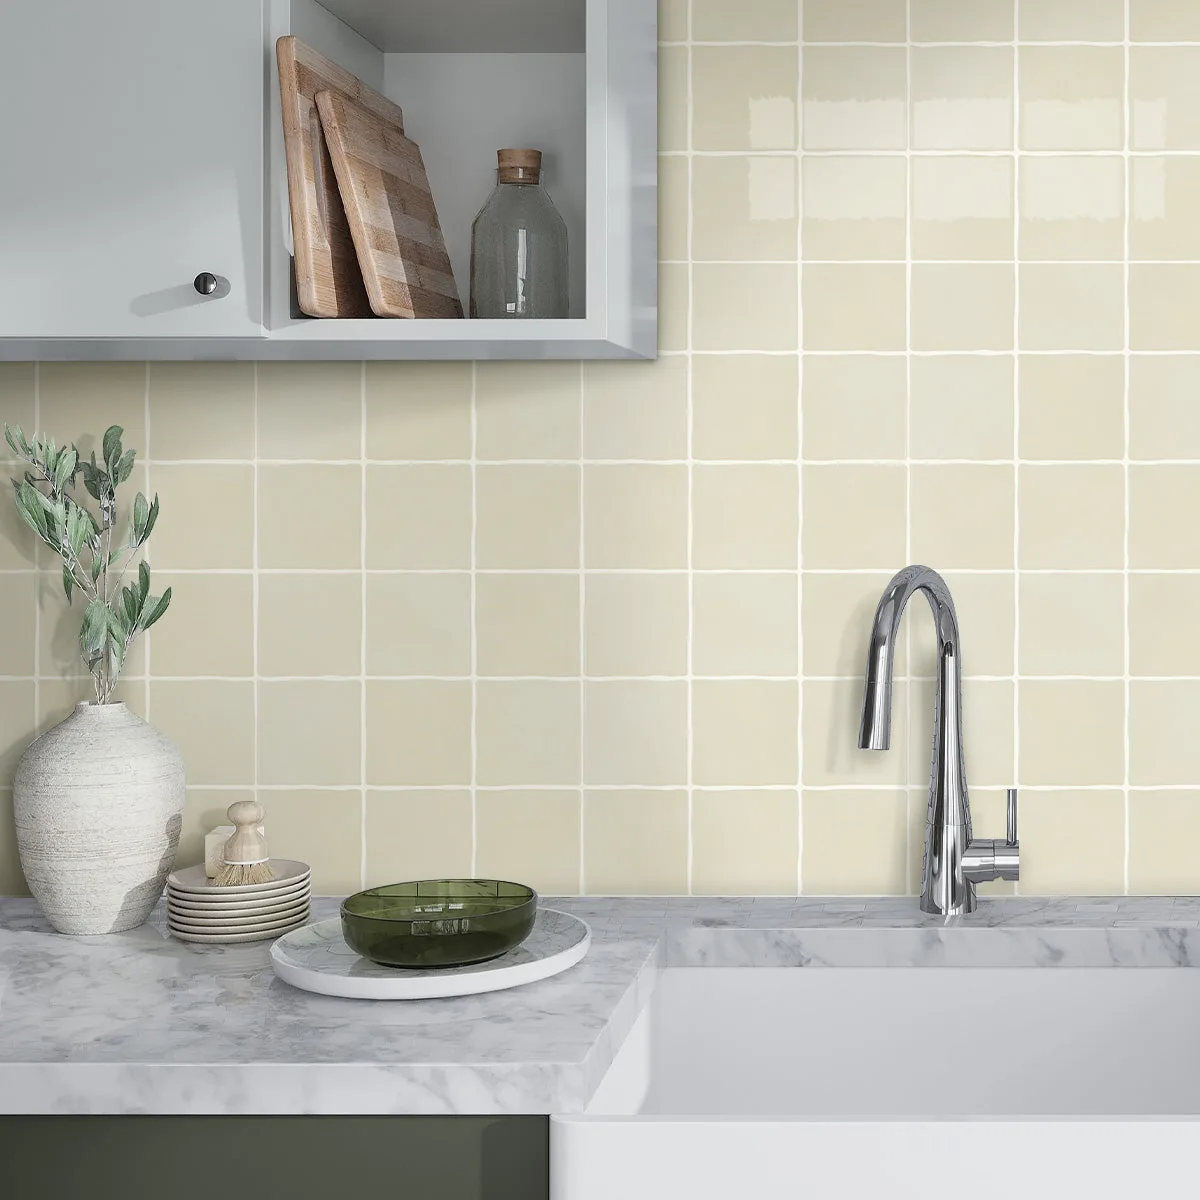
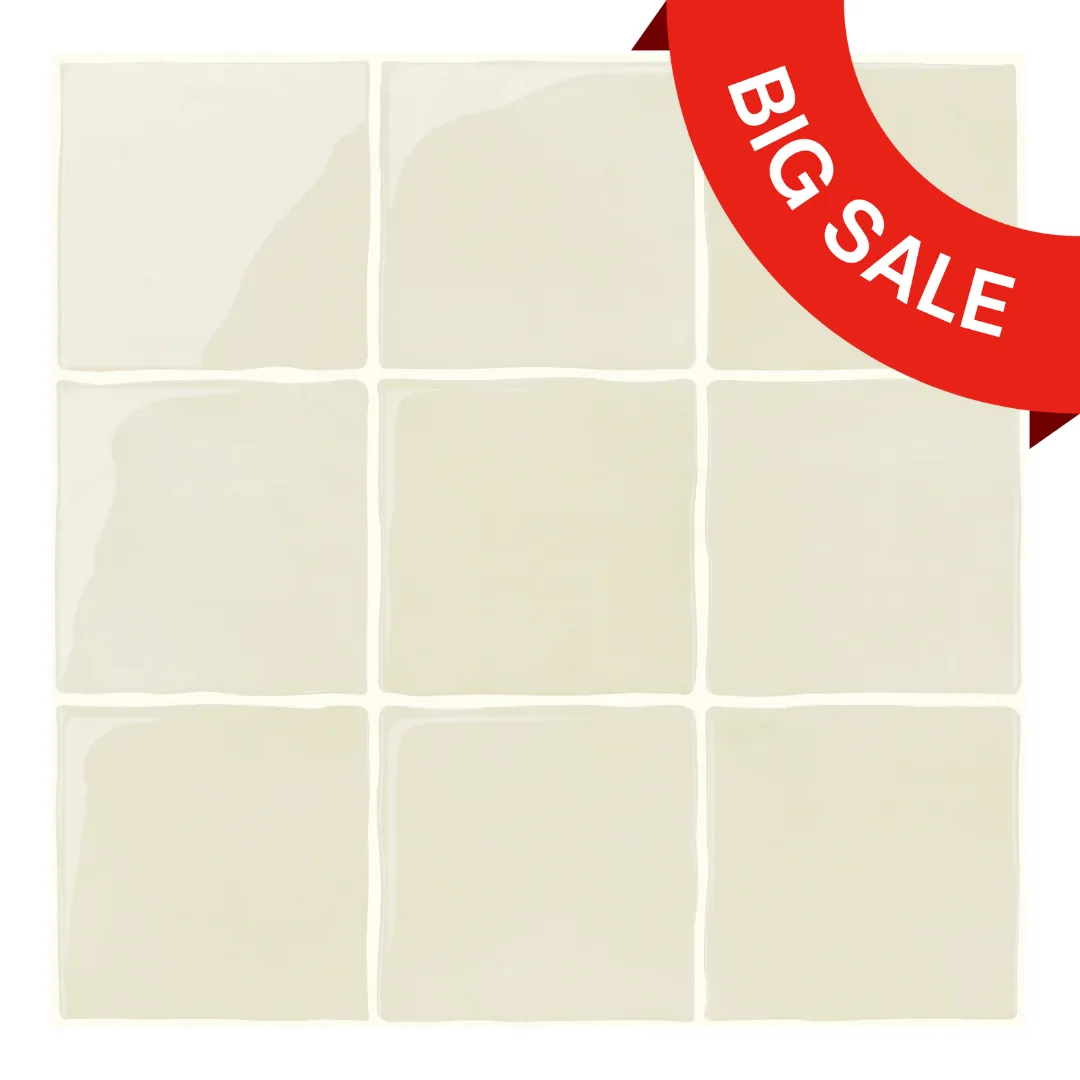
Use a sharp utility knife and a metal straightedge for clean cuts. If you're working with a textured option like the Beige Ceramic Square Peel and Stick Backsplash Tile - Thicker Design, you may need to score the face multiple times before cutting completely through. Always cut face-up so any ragged edges end up on the back where they won't be visible. For the initial plunge cut into the middle of your tile (since you're cutting an opening rather than an edge), carefully pierce the material at one corner of your marked rectangle, then work your blade along the lines.
Inside Corners: The Overlap Technique
Inside corners—where two walls meet—seem like they should be the easy part, but they're actually where many DIY installations start looking lumpy and amateurish. The mistake most people make is trying to wrap a single tile around the corner, which creates bulk and won't lie flat. Instead, treat each wall as its own surface.
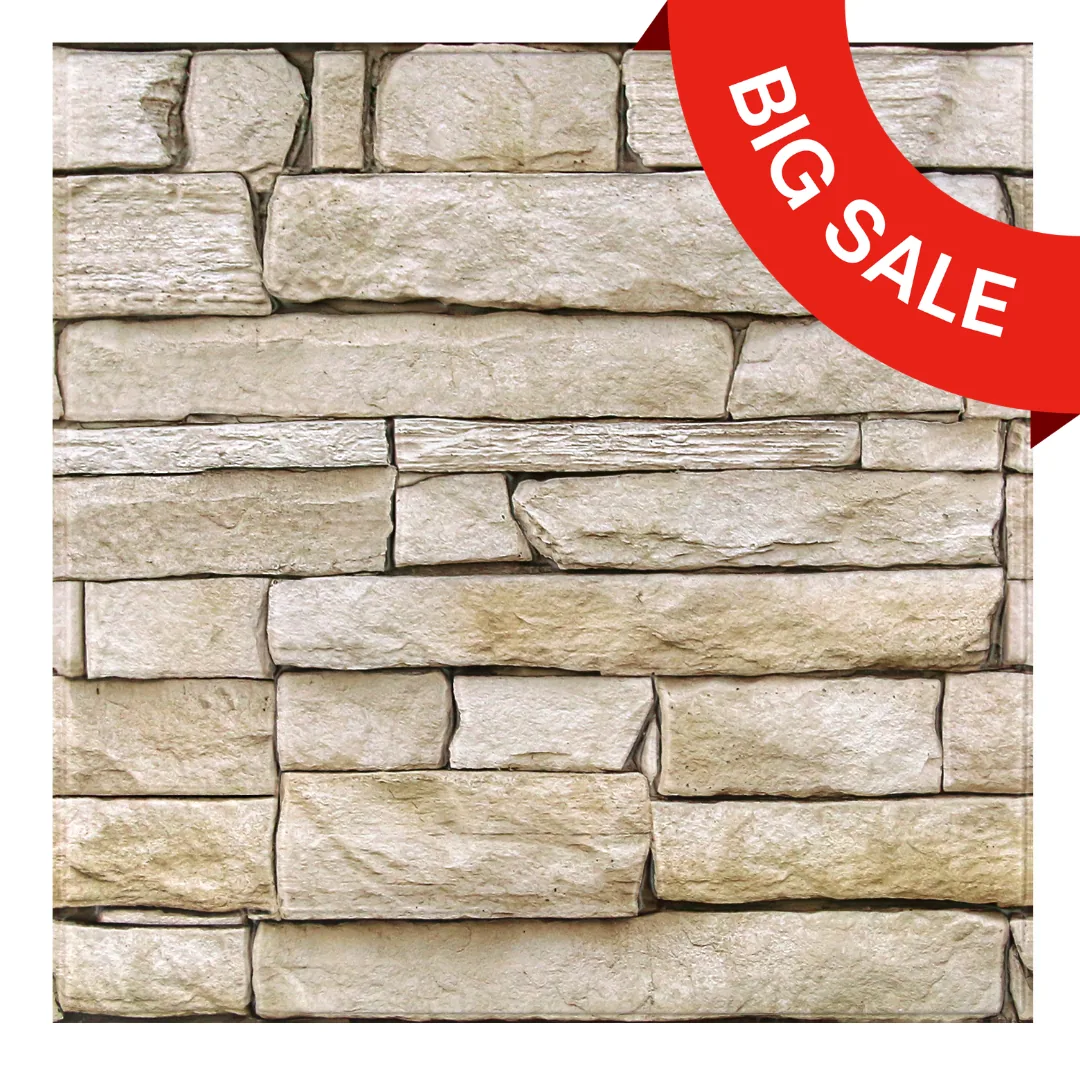
3D Stacked Stone Peel and Stick Wall Tile
PARTB Curated · Featured in this article
On your first wall, install tiles right up to the corner, letting them extend perhaps 1/16 inch past the corner edge if you want to ensure no gap will show. On the adjacent wall, your tiles will overlap this tiny extension. The key is starting your corner tile on the second wall by measuring from the corner itself, not from your previous tile's edge. This ensures your pattern stays aligned vertically even as you transition between walls.
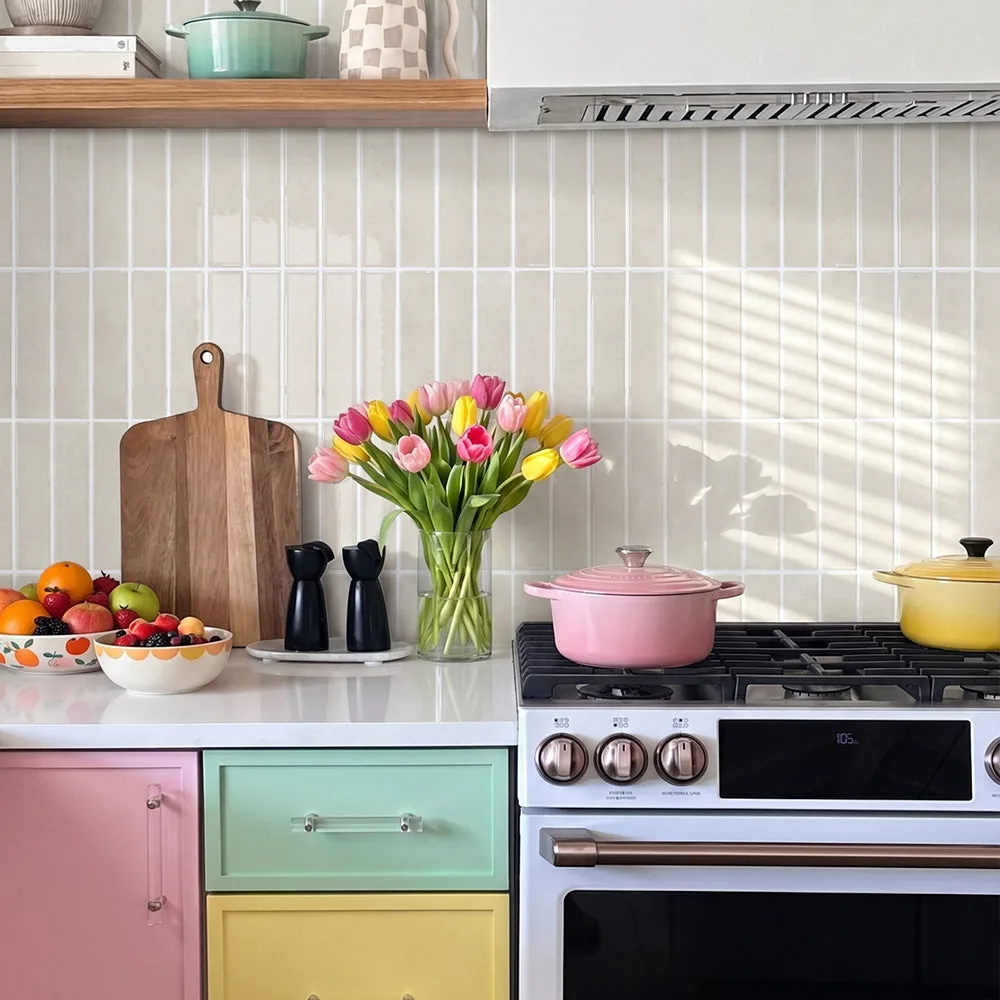
If you're working with a linear pattern like the Beige Cream Color Linear Peel and Stick Backsplash Tile, pay extra attention to how the lines flow around corners. Horizontal lines should remain level as they turn the corner—nothing announces "amateur installation" faster than lines that drift upward or downward as they wrap around. Use a level to mark a reference line on your second wall before you begin adhering tiles, making sure it aligns with the grout line or pattern line from your first wall.
For textured tiles such as the 3D Rose Whitewash Brick Peel and Stick Wall Tile, inside corners can actually work in your favor because the dimensional quality helps disguise any slight imperfections in alignment. The shadow lines created by the brick texture are more forgiving than flat, glossy surfaces.
Outside Corners: When to Trim and When to Transition
Outside corners—like those wrapping around a peninsula or a short return wall—require a different strategy entirely. Attempting to wrap flexible backsplash tile around a 90-degree outside corner rarely works. The adhesive doesn't appreciate the stress, and you'll end up with lifting edges within weeks.
The professional approach is to treat the corner as an edge and finish it cleanly. Install your tiles on each wall so they meet precisely at the corner, with edges aligned. For a cleaner look, you can slightly overlap tiles from one wall onto the other (choose the less-viewed wall to receive the overlapped edge), but this only works well with thinner materials. With thicker or textured options, a clean butt joint is better—just ensure both cut edges are perfectly straight.
Some installers prefer using a thin edge trim piece in a complementary finish, though this adds a decorative element that won't match the peel-and-stick aesthetic exactly. The choice depends on your kitchen's overall style and how prominent the outside corner is in your space.
Tools That Make the Difference
You don't need a workshop full of equipment, but a few specific tools will dramatically improve your results around obstacles. A sharp utility knife is non-negotiable—dull blades tear rather than cut, especially through vinyl or composite materials. Keep several extra blades handy and change them frequently.
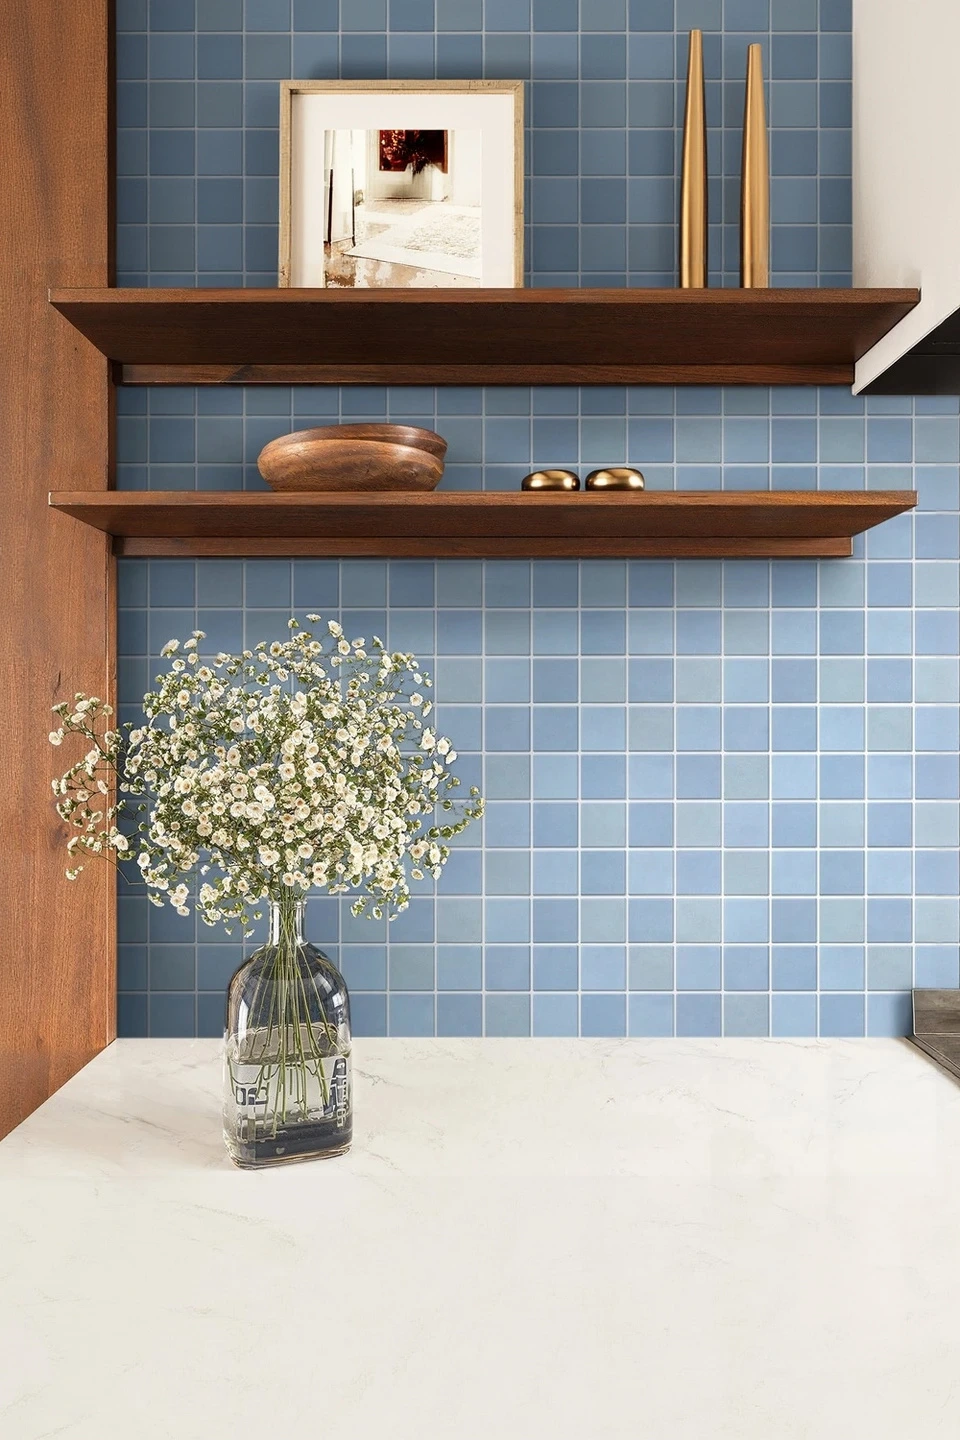
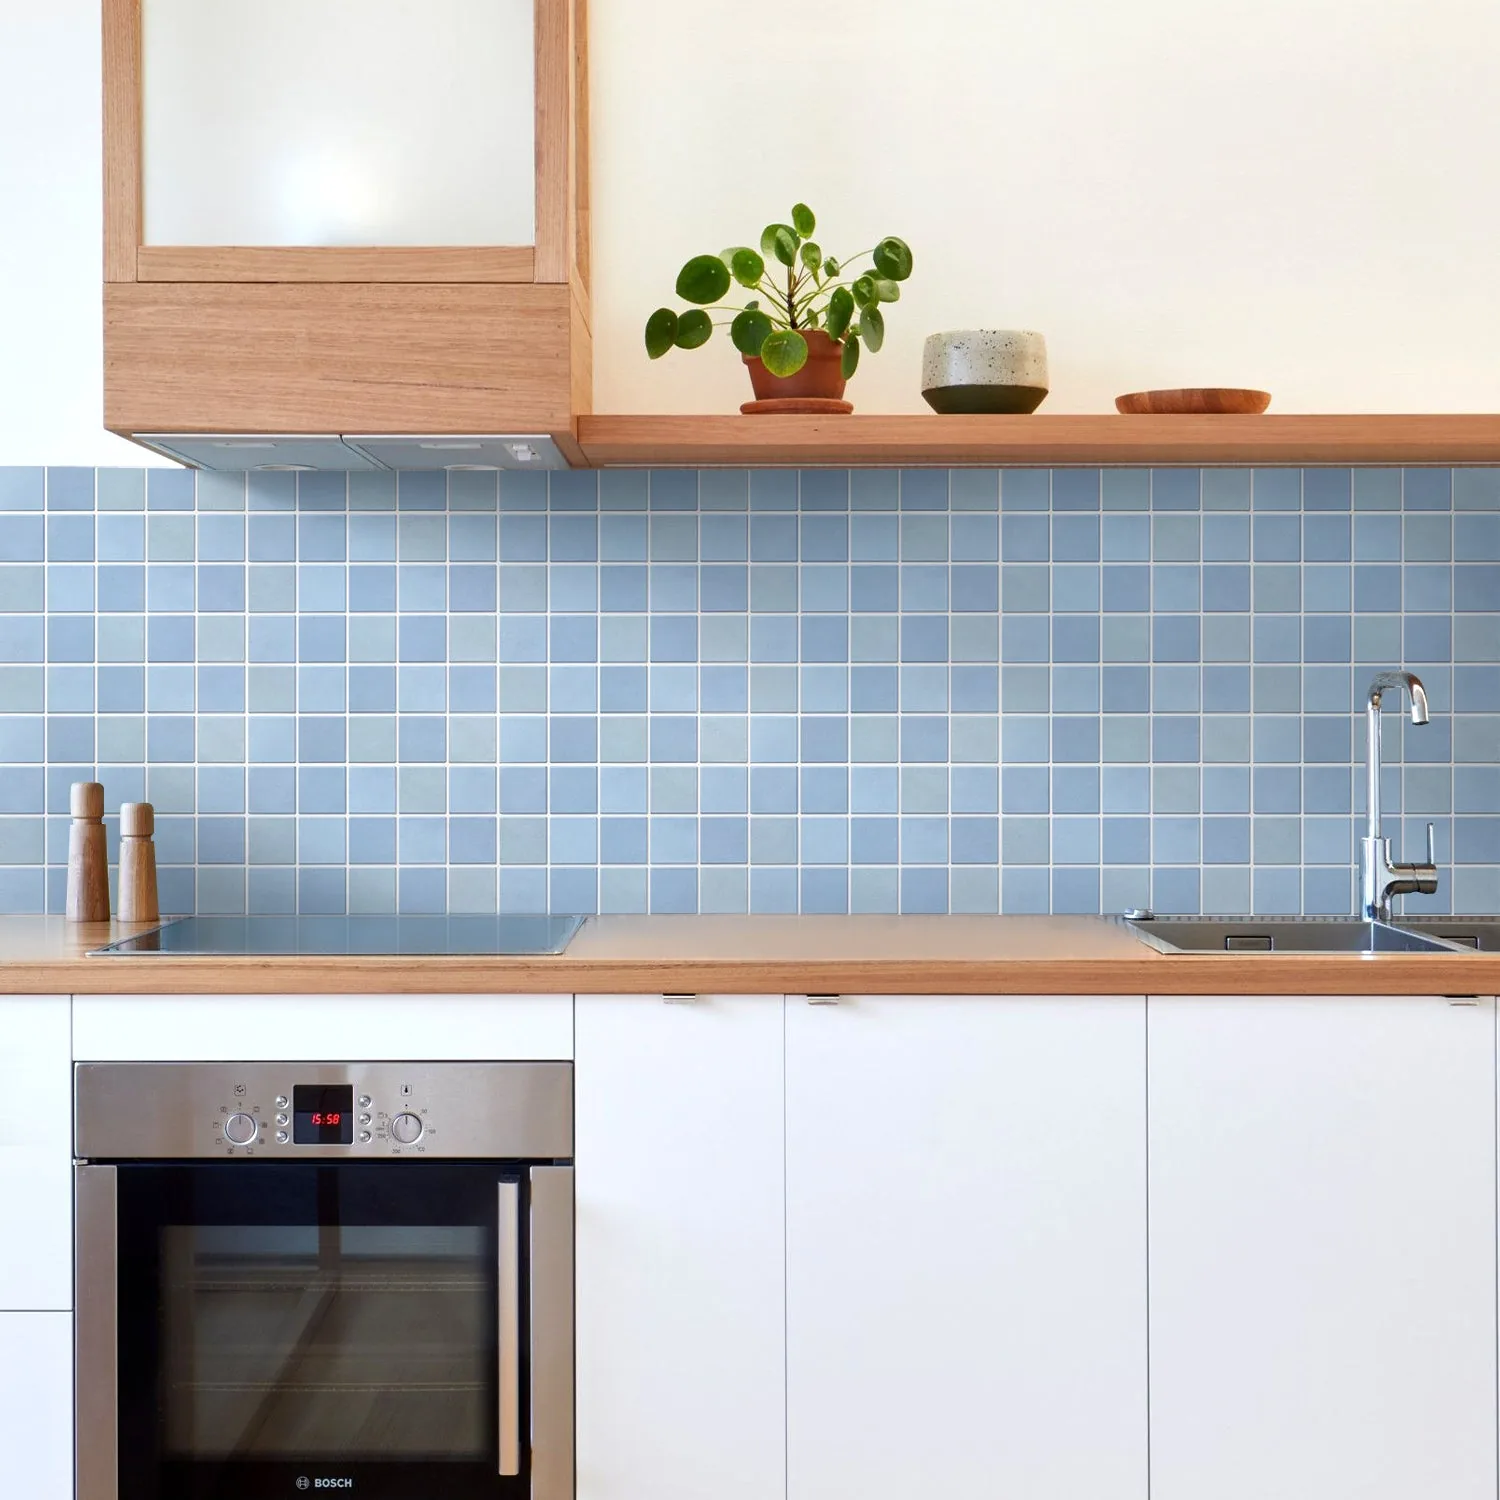
3D Sky Blue Mosaic Peel and Stick Wall Tile
PARTB Curated · Featured in this article
A metal T-square or straightedge ensures clean, perpendicular cuts. The temptation to eyeball straight lines is strong, and it always leads to disappointment. For detailed cuts around outlet boxes, an X-Acto knife or craft knife with a fine pointed blade gives you better control than a standard utility knife, particularly for plunge cuts and corners.
A contour gauge—that peculiar comb-like tool—is invaluable if you're working around any irregularly shaped obstacles, though for standard rectangular outlets, it's overkill. What isn't overkill is a good pencil (mechanical pencils are ideal for fine marking) and a quality eraser for the inevitable measurement adjustments.
The Dry-Fit Practice That Saves Heartache
Before you peel that backing, do a dry fit. Hold your cut tile up to the outlet or corner without removing the adhesive backing. Check that your cutout aligns properly, that corners meet where they should, that pattern lines flow correctly. This 30-second check has saved countless tiles from the scrap pile.
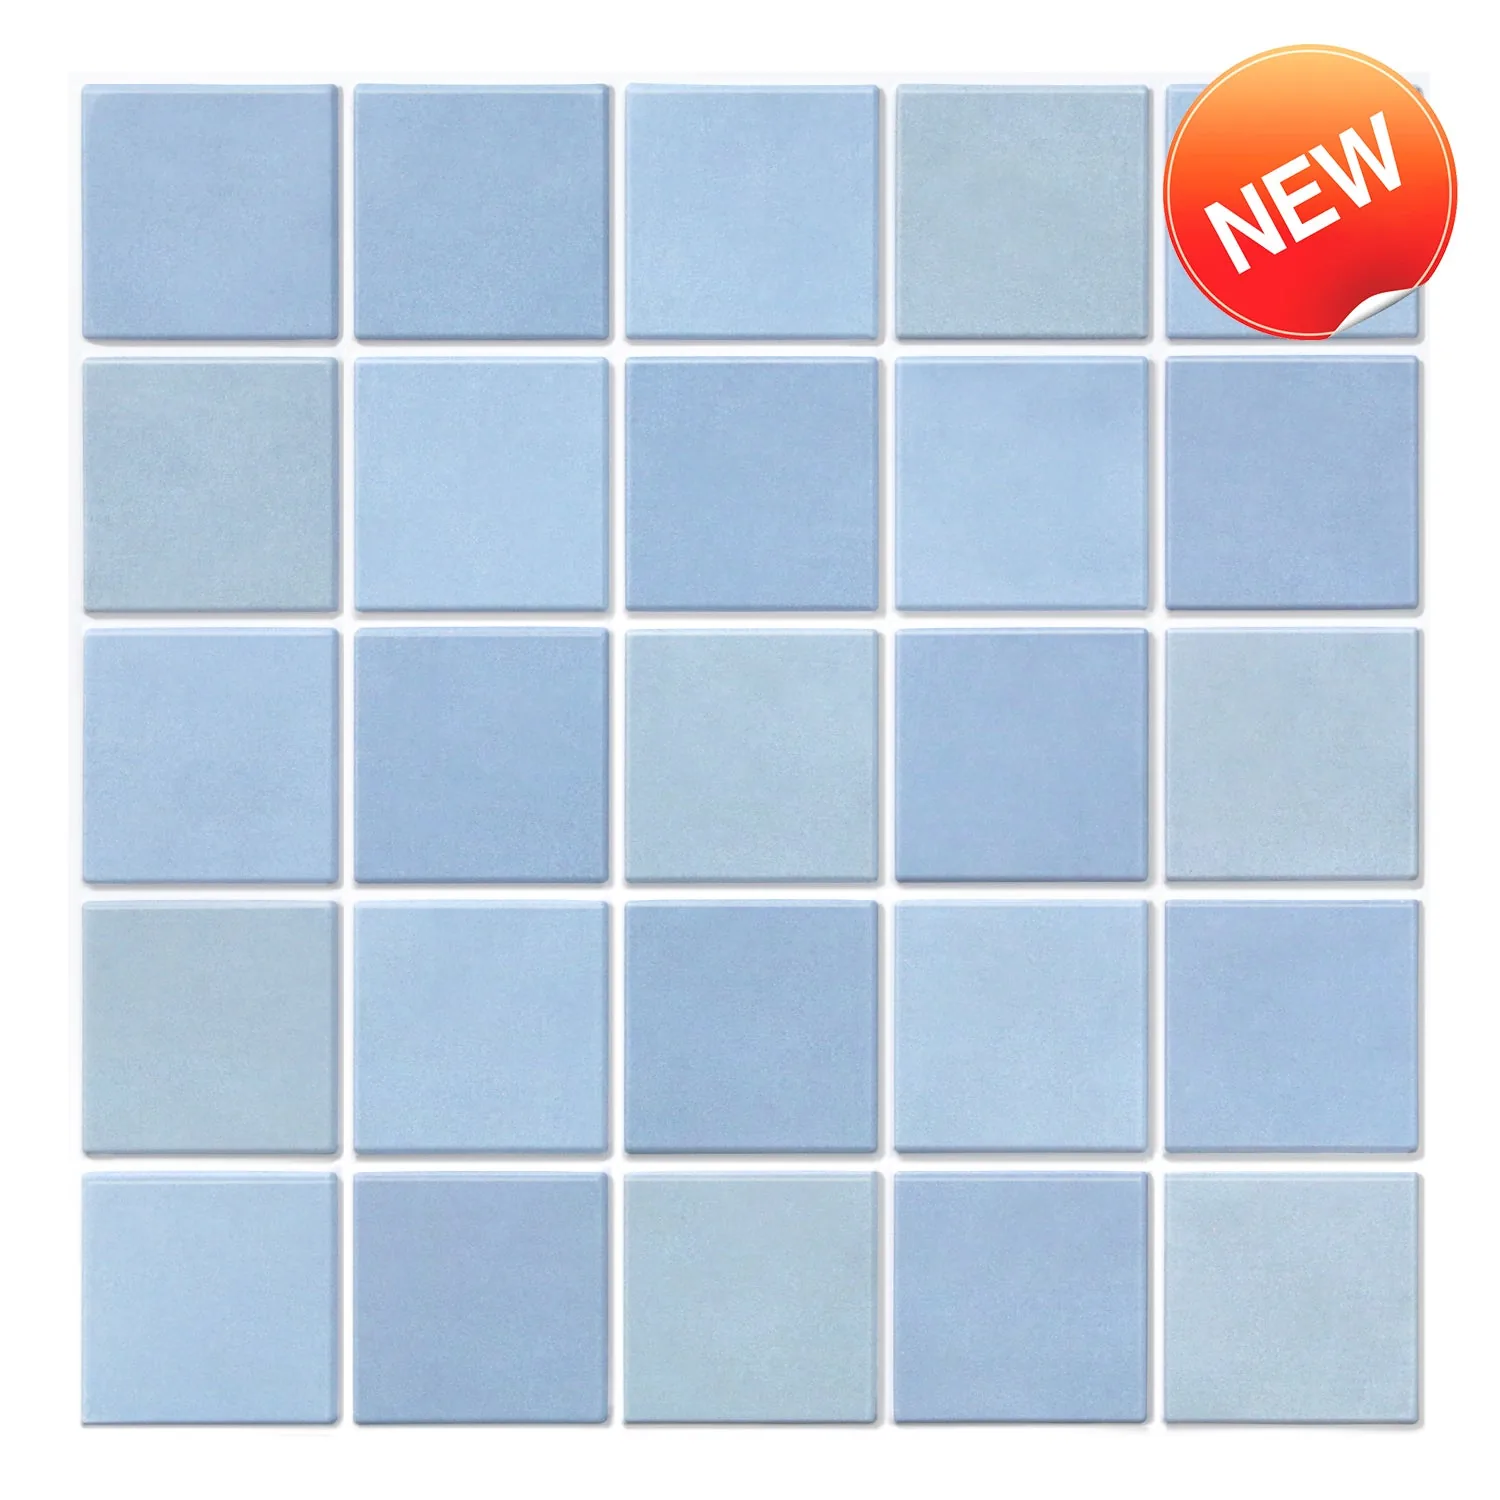
For outlets, verify that your opening is large enough by testing whether the tile slips over the outlet box easily. It should fit without forcing but shouldn't leave conspicuous gaps. If you're working with a mosaic pattern like the 3D Sky Blue Mosaic Peel and Stick Wall Tile, check that your cut doesn't land awkwardly mid-motif where it will draw the eye.
The dry-fit stage is also when you should test your plan for corners, especially if you're turning a corner mid-pattern. Step back and look at how the pattern flows. Sometimes what works mathematically on paper looks off visually in three dimensions, and it's better to adjust your approach before adhesive is involved.
Common Mistakes and How to Avoid Them
The most frequent error is forgetting to account for the tile's thickness when measuring outlet cutouts. Peel and stick materials have depth, and if you measure flush to the wall, your opening will be too small once the tile's face is factored in. Always measure to where the tile's surface will sit, not to the wall behind it.
Beige Ceramic Square Peel and Stick Backsplash Tile - Thicker Design
PARTB Curated · Featured in this article
Another pitfall is rushing the corner work. It's tedious to carefully align each tile as you approach and turn a corner, especially when you've been smoothly installing across open wall for the past hour. But corners are where eyes naturally land when scanning a room. A slightly wavy line across open wall? Barely noticeable. A corner where the pattern doesn't quite align? That's all anyone will see.
Finally, people often forget to turn off power to outlets before working around them. Even though you're not doing electrical work, having live outlets while you're wielding metal tools and potentially touching electrical boxes is an unnecessary risk. Flip the breaker, test that power is off, then proceed with confidence.
Whether you're creating a budget-friendly kitchen refresh or testing out backsplash styles before committing to permanent tile, mastering outlets and corners transforms your project from "clearly DIY" to "who was your installer?" The difference lies entirely in patience and technique, not in innate skill or expensive tools.
Below, we've compiled answers to frequently asked questions about navigating the trickiest parts of peel and stick backsplash installation, covering everything from fixing mistakes to handling unusual outlet configurations.
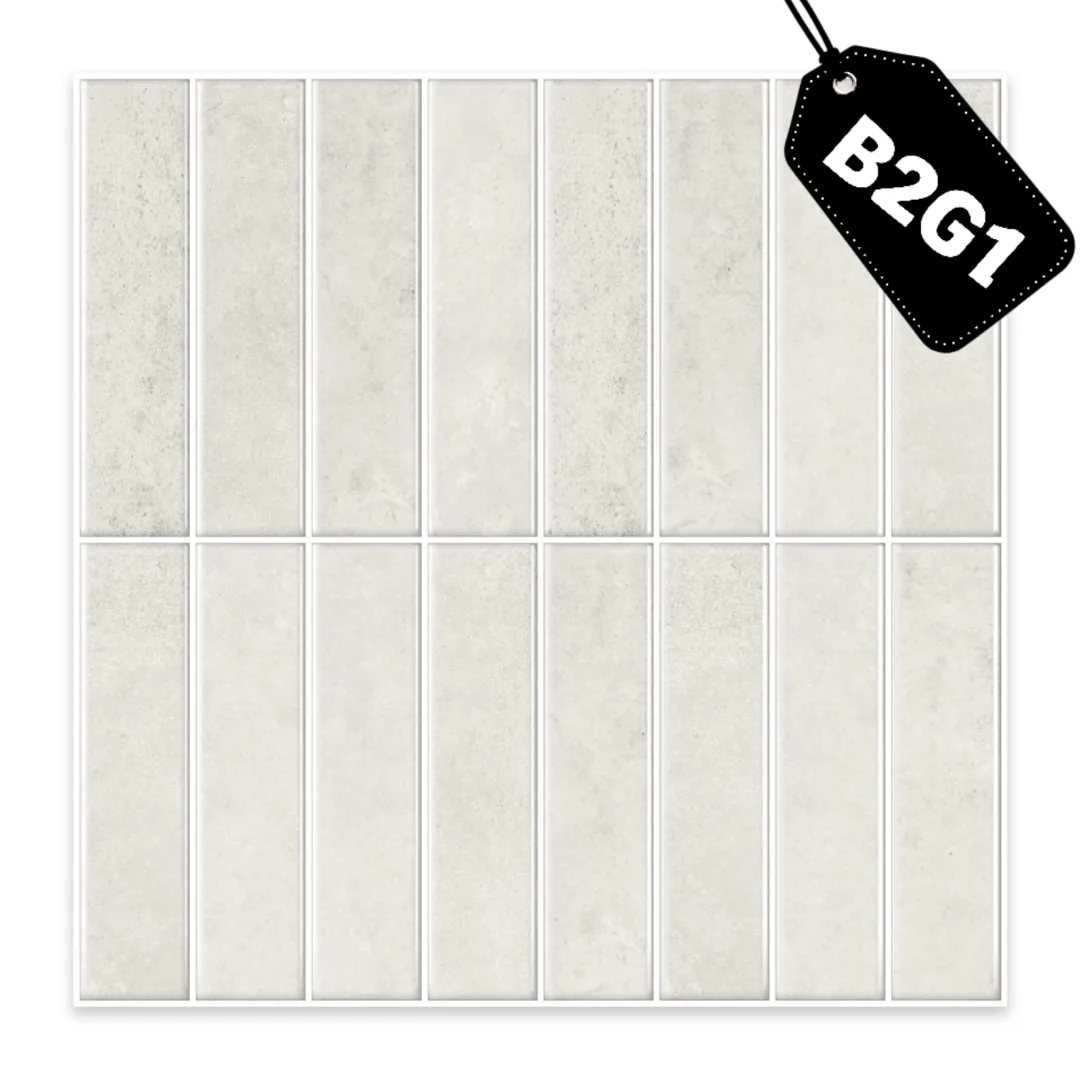
Beige Cream Color Linear Peel and Stick Backsplash Tile
PARTB Curated · Featured in this article
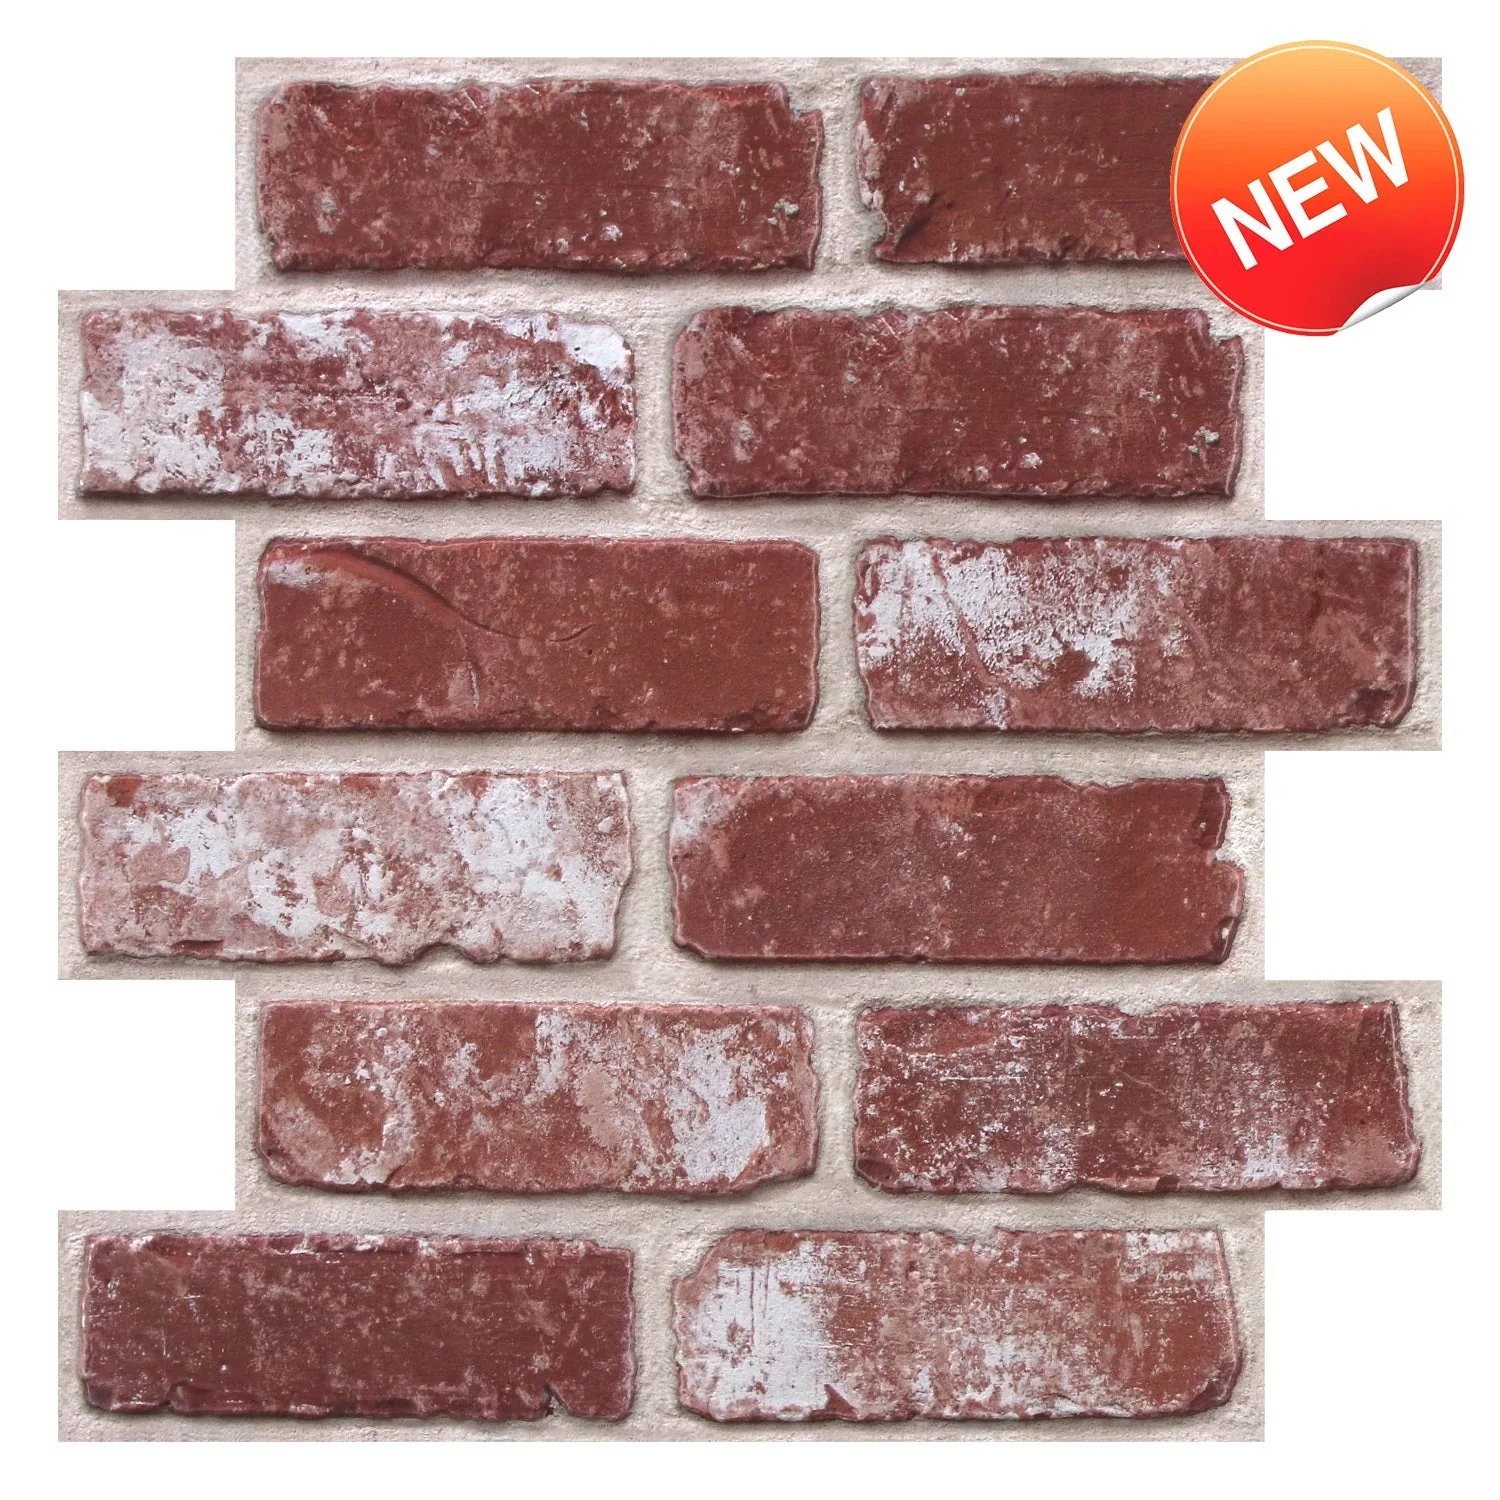
3D Rose Whitewash Brick Peel and Stick Wall Tile
PARTB Curated · Featured in this article